
Directive 8020 Full Walkthrough
A complete chapter-by-chapter walkthrough for Directive 8020, covering stealth tactics, tool usage, every critical choice, and the full story of the starship Cassiopeia.
Video Transcript Route Notes
A full-game no-commentary transcript was used as a route evidence source for this update. The notes below are paraphrased because automatic subtitles can misspell names and places.
| Scene | What Happens | Player Action | Why It Matters |
|---|---|---|---|
| Opening mission | The transcript frames the Cassiopeia as a survey ship sent from a dying Earth toward Tau Ceti f, with Andromeda positioned as the colony follow-up. | Record mission context before judging later rescue, warning, or sacrifice choices. | Finale decisions depend on more than who survives; the mission goal and Andromeda risk matter too. |
| Oracle and the breach | Early scenes include a hull breach, Oracle status reporting, lockdowns, and scanner tracing through ship systems. | Treat Oracle reports, terminals, live-wire routes, and scanner prompts as route evidence. | The scanner is introduced as navigation and verification logic, not just a stealth gadget. |
| Williams suspicion | Mid-game scenes connect Williams with secrecy, Oracle-linked data, possible death-state confusion, and scanner testing. | Before trusting or detaining him, compare witness accounts, body-location evidence, and scanner results. | This is the clearest example of how identity verification changes route safety. |
| Hydroponics crisis | A later route mixes locked doors, fire-control systems, oxygen danger, antenna repair limits, and rescue pressure. | Separate rescue timing, QTE success, suspicion, and communications repair in your notes. | A rescue result may come from physical danger, not only a dialogue choice. |
| Final message choice | The finale is framed around distress signal versus warning, Andromeda safety, Earth contamination risk, and mission truth. | Log survivors, evidence, Oracle state, and message choice before using Turning Points for endings. | Ending value is not simply best or worst; it depends on who is protected and what truth is preserved. |
Before You Begin: Key Mechanics
Stealth & Threatening Exploration
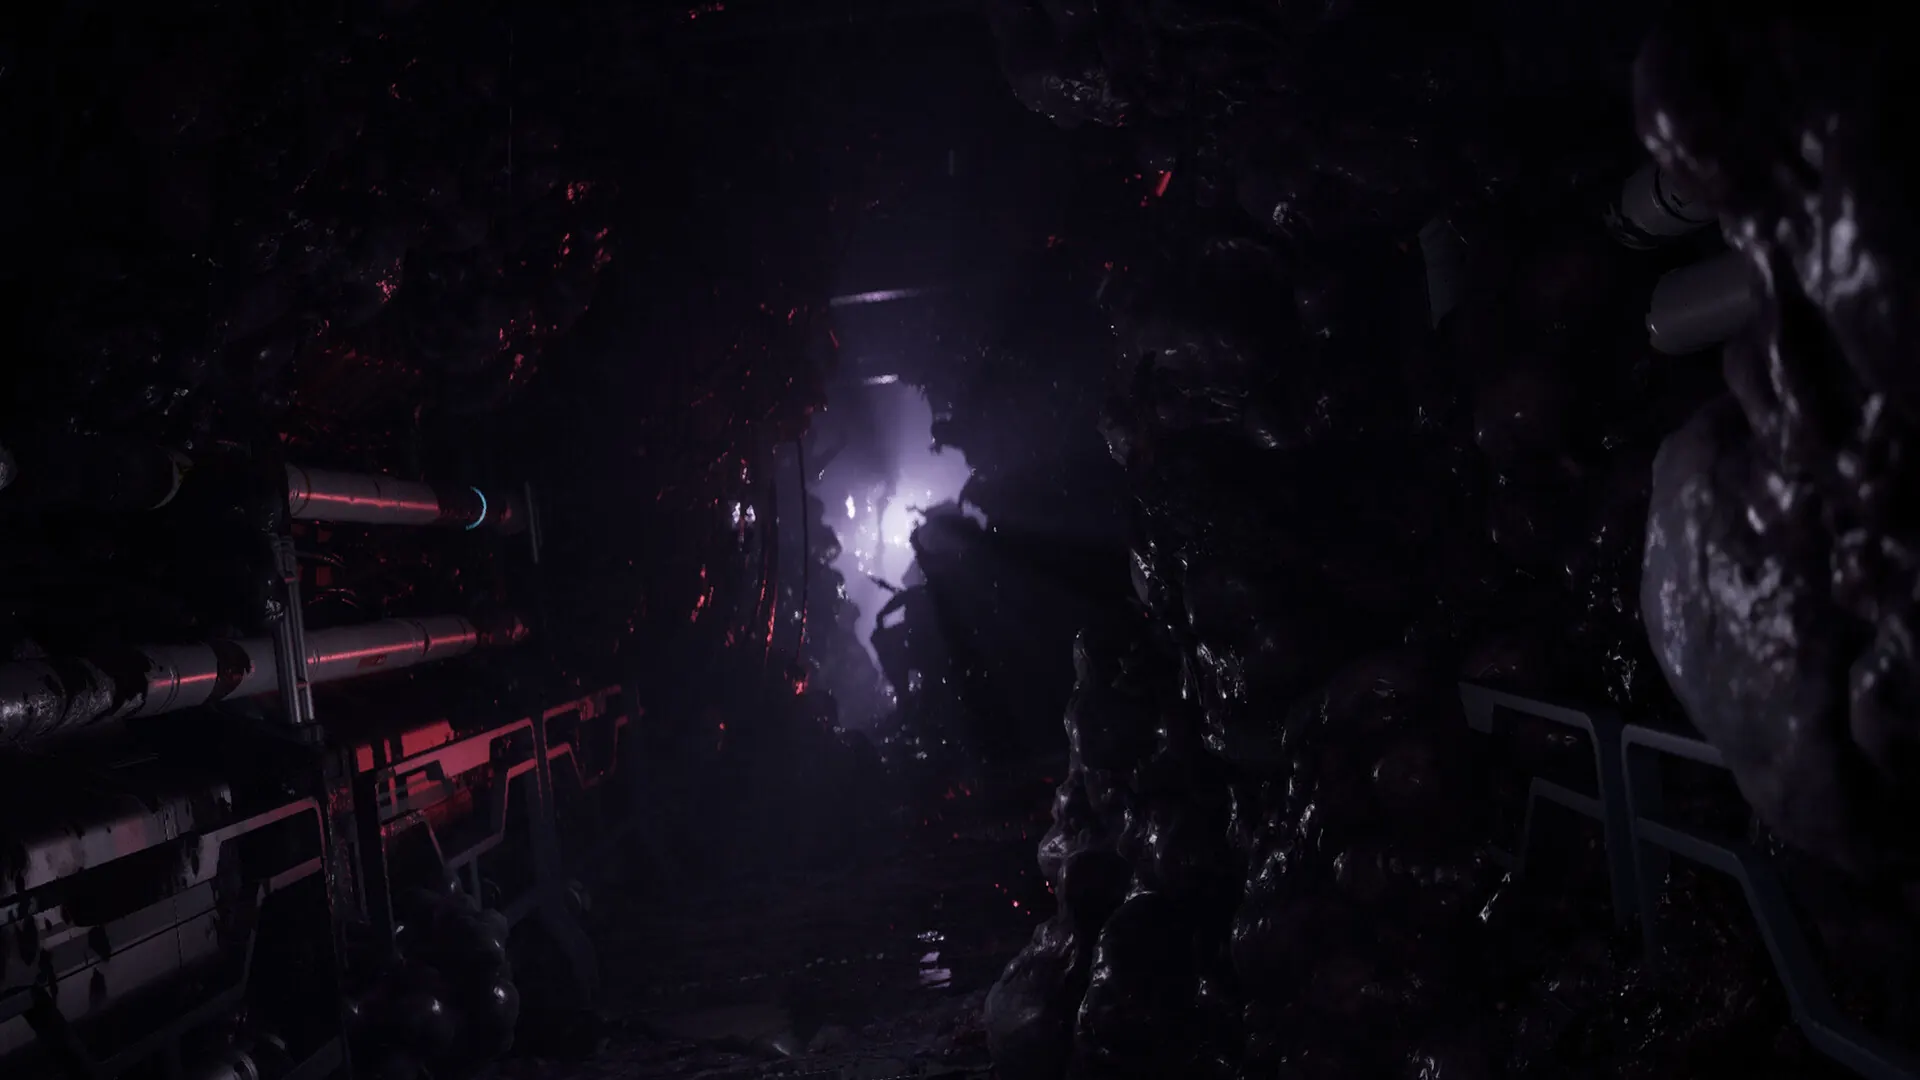
Unlike previous Dark Pictures entries, Directive 8020 features a real-time stealth system called "Threatening Exploration." Characters can be killed dynamically outside scripted events 鈥?you must stay in shadows and avoid detection by alien mimics. If detected, it does not always mean immediate death; it can trigger new branching narrative paths.
Stealth Tip
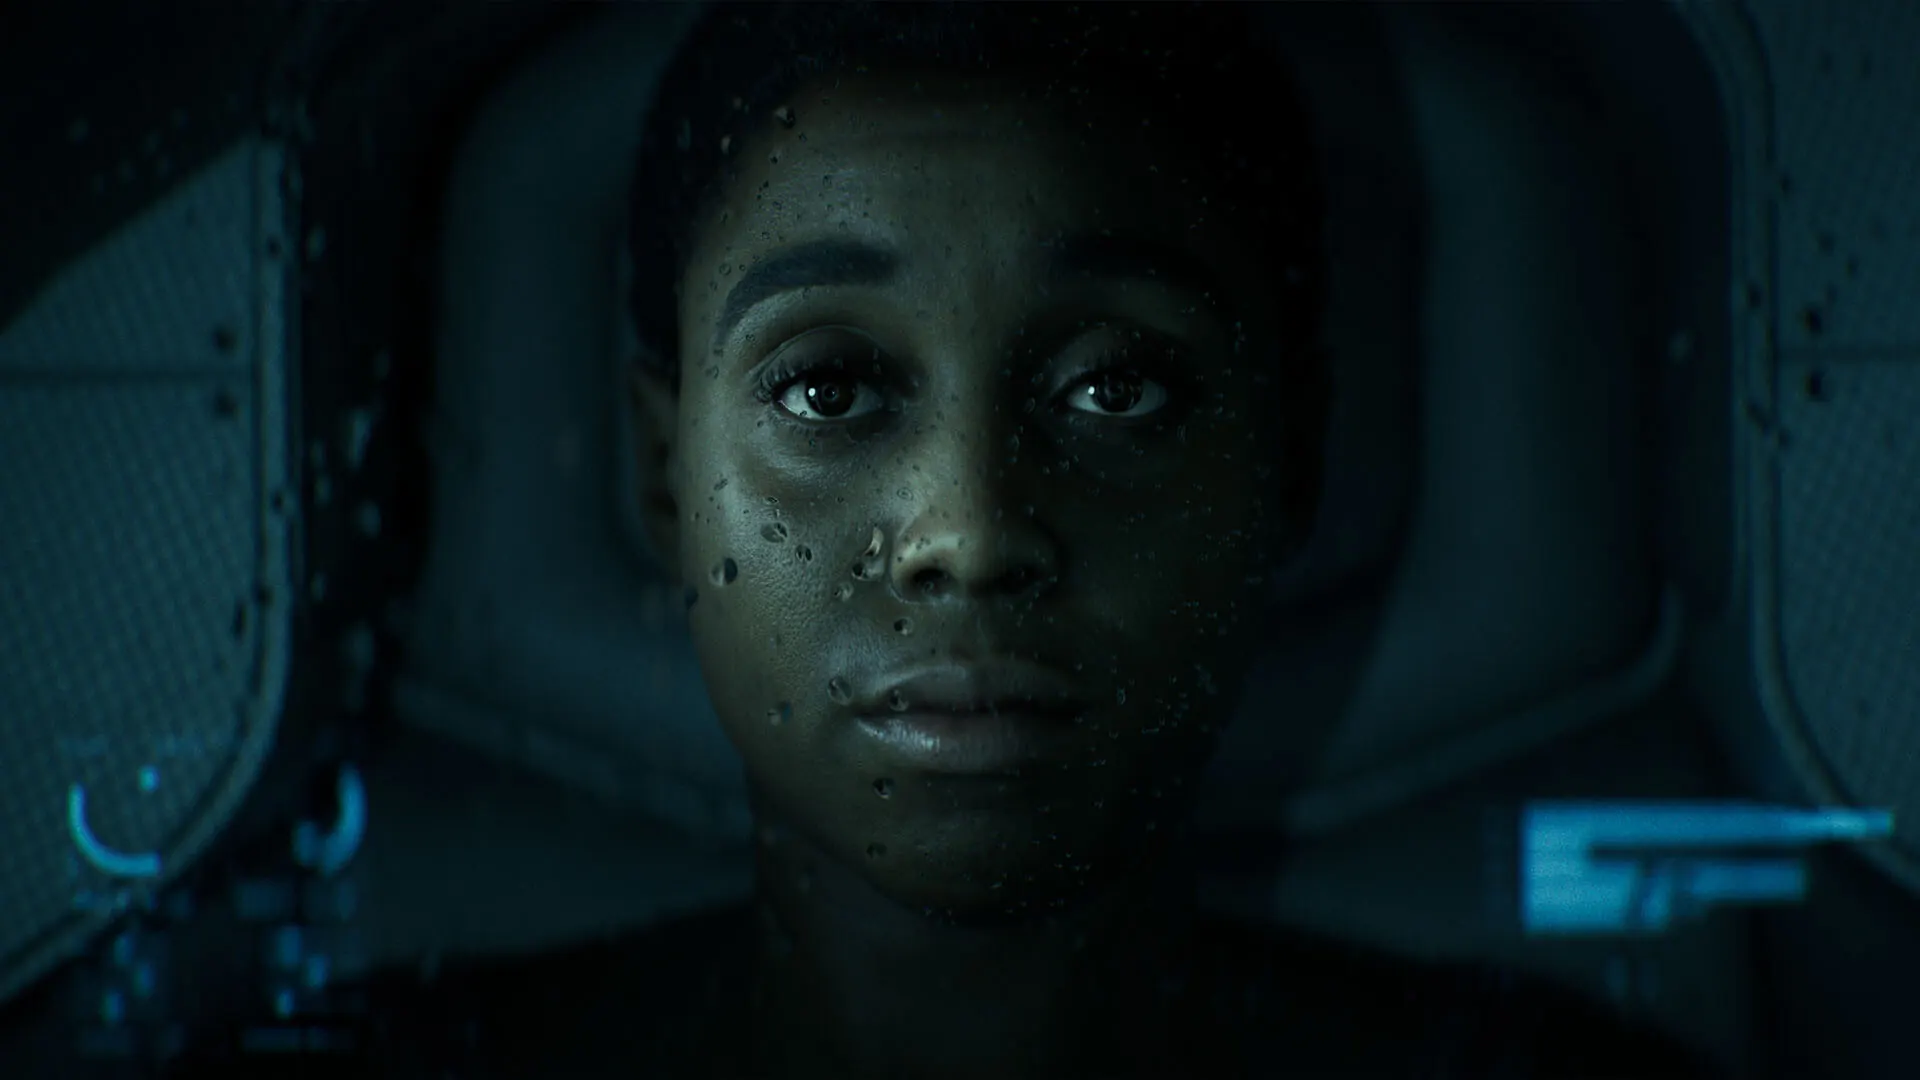
Stay in shadows and avoid using your flashlight when mimics are nearby 鈥? enemies can spot the beam. The shoulder-mounted flashlight on your utility strap is useful for navigation but can give away your position. An optional "safe" mode ensures you always survive stealth sections.
Your Toolkit
The Cassiopeia crew uses a multifunctional utility strap on the wrist with a shoulder-mounted flashlight. Throughout the game, you will find and use these critical tools:
- Scanner — Reveals enemy positions and interactive objects through walls. Has a limited battery that recharges over time. Essential for planning routes and spotting mimics disguised as crew members.
- Wedge Tool — Opens sealed doors and access panels. Can also be used to stun enemies in emergencies. Some doors only open from one side, meaning your choice of route matters.
- Text Messenger — Allows crew communication across the ship. Use it to coordinate with separated team members and receive mission-critical information.
- Remote Control — Hack computers and systems from a distance. Useful for accessing locked data terminals and activating ship systems without putting yourself in danger.
Turning Points
Directive 8020 introduces Turning Points — a story tree that lets you revisit and replay key decisions without starting over. This is essential for seeing different outcomes, but Turning Points are disabled in Survivor Mode (required for the platinum trophy).
Pro Tip
Play on normal difficulty first using Turning Points to explore all branches. Then attempt Survivor Mode once you know every optimal choice.
Chapter 1: The Meteor
The story begins aboard the deep-space vessel Cassiopeia, where the crew detects an incoming meteor swarm. Captain Carter must decide whether to alter course or maintain trajectory. This seemingly minor decision has ripple effects throughout the entire game.

Key Choice: Alter Course or Hold Position?
Alter Course: The ship avoids the worst of the meteor impact but drifts into uncharted space where the mimic organism is detected.
Hold Position: The ship takes heavy damage, leading to power failures that force the crew into mimic-infested corridors. More dangerous, but certain characters gain early access to the Scanner.
Chapter 2: First Contact
The crew encounters the alien organism for the first time. Lt. Sims leads an investigation team into the damaged sectors. This chapter introduces the stealth mechanics and the Scanner tool.
You will find your first Wedge Tool in the maintenance corridor. Use it to access a supply room containing additional tools and a crew log from Williams — the first hint that something is deeply wrong with the ship’s records.

After the first mimic attack, Dr. Eisele (Lotte Verbeek) establishes a quarantine zone in the medical bay. Trust begins to fracture as crew members suspect each other of being infected.
Key Choice: Side with Eisele or Young?
Side with Eisele: Strict quarantine protocols save lives but alienate crew members who feel imprisoned.
Side with Young: Relaxed quarantine keeps morale up but risks mimic infiltration in safe zones.
Chapter 4: The Oracle
The crew discovers the ship’s AI, Oracle, has been withholding information. Accessing Oracle’s hidden files reveals fragments of data about previous missions — but the files are corrupted. This is the first breadcrumb leading to the clone revelation.
Williams’ private files can be found in the captain’s quarters during this chapter. They reference crew members who should not exist on the current manifest — a critical clue.
Chapter 5: Breach
The mimics breach the safe zone. This is the most action-intensive chapter, requiring mastery of stealth and tools. Multiple characters can die here depending on your earlier choices and how well you navigate the encounters.
High Danger
If you sided with Eisele in Chapter 3, the quarantine doors can be used as barriers. If you sided with Young, you must rely entirely on stealth and the Scanner to track mimic positions.
Chapter 6: The Lab
The crew discovers a hidden laboratory deep in the ship. This is where the clone revelation begins to unfold. Vats of unconscious bodies — exact copies of the crew — line the walls. The truth becomes unavoidable: these are not the original crew members.

This chapter contains the most important collectible: the experiment logs that explain the 13th cycle and the true nature of the Corinth mission.
Chapter 7: Revelation
The full truth is revealed. The crew are clones with memory backups from the original crew, who died cycles ago. This is the 13th iterationof the experiment, designed by Corinth to study how humans respond to the mimic organism. Every previous cycle ended in total crew death.
Key Choice: Accept the Truth or Deny It?
Accept: Characters who accept their clone identity gain clarity and make more rational decisions in the final chapters.
Deny: Characters who refuse to believe it become erratic and unpredictable, leading to more dangerous outcomes.
Chapter 8: Directive 8020
The final chapter. Directive 8020 is the ultimate protocol: destroy the Cassiopeia to prevent the mimic organism from reaching Earth. The crew must decide whether to sacrifice themselves, find another way, or — in the best possible outcome — survive and expose Corinth.
Your ending depends on: how many crew members are alive, whether they accepted the clone truth, and the key decisions made in Chapters 3, 5, and 7. See our All Endings Guide for the full breakdown.